Mounting your TV on the wall is one of the best ways to create a modern, clutter-free living space. A well-installed wall mounted TV unit not only enhances your room’s aesthetics but also improves viewing comfort and saves valuable floor space. However, improper installation can lead to safety risks, damage to your walls, or even your TV. This comprehensive guide walks you through everything you need to know to install a wall-mounted setup safely and effectively.
Why Choose a Wall Mounted TV Unit?
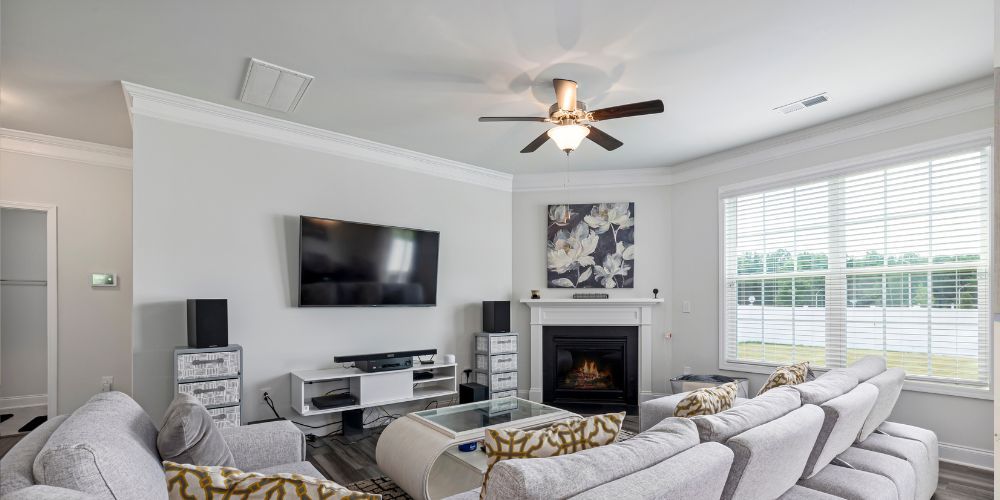
Before diving into installation, it’s important to understand why wall mounting is a popular choice. A floating TV unit wall mounted setup gives your room a sleek, contemporary look. It eliminates bulky furniture, keeps cables hidden, and creates a cleaner layout.
Additionally, pairing your TV with a wall mounted TV cabinet provides storage for media devices, gaming consoles, and accessories while maintaining a minimalist design. When installed correctly, this combination is both functional and visually appealing.
Tools and Materials You Will Need
To ensure a safe and secure installation, gather the following tools and materials beforehand:
- Wall mount TV bracket
- Drill machine
- Measuring tape
- Spirit level
- Screwdriver
- Stud finder (for drywall installations)
- Wall anchors and screws
- Pencil for marking
- Safety gloves and goggles
Having the right tools ready will make the process smoother and reduce the chances of errors.
Step 1: Choose the Right Location
Selecting the correct spot for your TV is crucial. Consider the following factors:
- Viewing height: The center of the screen should ideally be at eye level when seated.
- Lighting: Avoid placing the TV opposite windows to reduce glare.
- Wall strength: Ensure the wall can support the combined weight of the TV and mount.
- Proximity to power outlets: This minimizes visible wiring and the need for extensions.
If you’re planning to install a floating TV unit wall mounted beneath the TV, ensure there is enough vertical space between the two for proper ventilation and aesthetics.
Step 2: Select the Right Wall Mount TV Bracket
Not all brackets are the same, so choosing the right wall mount TV bracket is essential for safety and functionality. There are three main types:
- Fixed mounts: Keep the TV flat against the wall. Best for a clean, minimal look.
- Tilting mounts: Allow slight vertical adjustment to reduce glare.
- Full-motion mounts: Provide maximum flexibility, letting you swivel and extend the TV.
Make sure the bracket is compatible with your TV size and weight. Check the VESA pattern (the spacing of mounting holes on the back of your TV) to ensure a proper fit.
Step 3: Locate Wall Studs or Strong Support
This is one of the most critical steps. Mounting directly into wall studs provides the strongest support, especially for larger TVs.
- Use a stud finder to locate studs behind drywall.
- Mark the stud positions clearly with a pencil.
- If studs are not available in your desired position, use heavy-duty wall anchors suitable for your wall type (brick, concrete, or drywall).
Never rely solely on drywall without proper anchors—it can lead to accidents.
Step 4: Mark and Drill Holes
Hold the mounting bracket against the wall and align it with the marked stud positions. Use a spirit level to ensure it is perfectly straight.
- Mark the drill points through the bracket holes.
- Double-check alignment before drilling.
- Drill pilot holes to make screw insertion easier and more precise.
Accuracy in this step ensures your TV will sit level and secure.
Step 5: Attach the Wall Mount Bracket
Now it’s time to secure the bracket:
- Align the bracket with the drilled holes.
- Insert screws and tighten them firmly using a screwdriver or drill.
- Ensure the bracket is tightly fixed and does not wobble.
Give the bracket a gentle pull test to confirm it is securely attached before proceeding.
Step 6: Prepare the TV
Attach the mounting arms or plate to the back of your TV. These usually come with the wall mount TV bracket.
- Use the correct screws provided with the mount.
- Do not overtighten, as this can damage the TV.
- Ensure the arms are aligned evenly.
This step is easier with the TV placed on a soft surface like a bed or padded table to avoid scratches.
Step 7: Mount the TV on the Wall
With assistance (never attempt this alone for larger TVs), carefully lift the TV and hook it onto the wall bracket.
- Follow the manufacturer’s instructions for locking mechanisms.
- Ensure the TV clicks or locks securely into place.
- Double-check stability by gently adjusting it.
Safety tip: Always have at least one other person help you during this step to prevent accidents.
Step 8: Install the Wall Mounted TV Cabinet
Once your TV is mounted, you can install a wall mounted TV cabinet below it for storage and style.
- Measure and mark the desired height below the TV.
- Ensure alignment with the TV for a balanced look.
- Drill and secure the cabinet using appropriate anchors or studs.
A well-installed cabinet complements the TV and enhances the overall appearance of your setup.
Step 9: Cable Management
Messy cables can ruin the clean look of your setup. Use these methods to keep things organized:
- Cable concealers or raceways
- In-wall cable management systems
- Clips or ties to bundle wires
For a truly modern look, a floating TV unit wall mounted design with hidden wiring is ideal.
Step 10: Test and Final Adjustments
Once everything is installed:
- Turn on the TV and check viewing angles.
- Adjust tilt or position if using a movable bracket.
- Ensure all components are stable and secure.
Take a moment to inspect the entire setup for any loose screws or misalignments.
Safety Tips to Keep in Mind
Safety should always be your top priority. Here are some important tips:
- Never exceed the weight capacity of your mount.
- Always use high-quality hardware and brackets.
- Keep children from climbing on the cabinet or pulling cables.
- Regularly check the mount for loosening over time.
- Avoid installing above fireplaces unless proper heat protection is in place.
Common Mistakes to Avoid
Even a simple installation can go wrong if you overlook key details. Avoid these common mistakes:
- Mounting too high or too low
- Ignoring wall type and strength
- Using incorrect screws or anchors
- Skipping the level check
- Attempting installation without assistance
Taking your time and following each step carefully can prevent these issues.
Benefits of a Properly Installed Wall Mounted TV Unit
When done correctly, a wall-mounted setup offers several advantages:
- Enhanced aesthetics: Clean, modern appearance
- Space-saving: Frees up floor area
- Improved safety: Reduces risk of tipping
- Better viewing experience: Optimal screen positioning
Combining a wall mount TV bracket, wall mounted TV cabinet, and a floating TV unit wall mounted design creates a stylish and functional entertainment space.
Conclusion
Installing a wall mounted TV unit may seem challenging at first, but with the right tools, preparation, and attention to detail, it can be done safely and efficiently. From selecting the correct location to securing the bracket and managing cables, every step plays a crucial role in ensuring a stable and attractive setup.
Whether you’re upgrading your living room or designing a new space, a well-installed wall-mounted TV system adds both style and practicality. By following this guide, you can enjoy your favorite shows and movies with confidence, knowing your setup is secure and professionally done.