
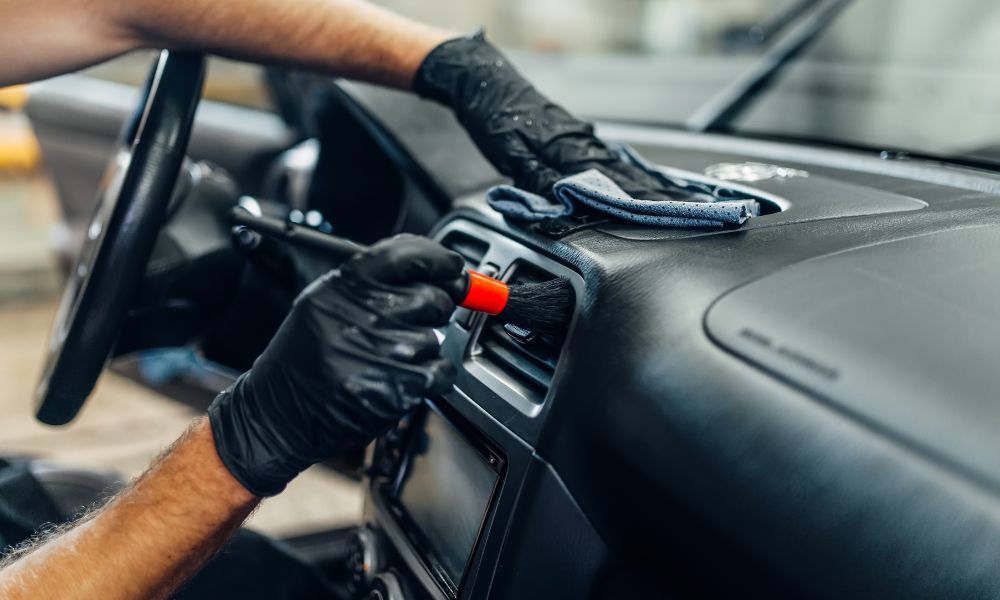
A clean car interior makes a big difference in how you feel while driving. It is not just about appearance—it also affects comfort, hygiene, and the overall experience inside the vehicle. When your car is clean, it feels more organized and pleasant, and even older vehicles can feel fresh again. Dust, stains, and bad smells slowly build up over time, especially if the car is used daily or for long trips.
Many people think interior detailing is difficult, but it becomes simple when you follow the right steps in order. Professional detailers use a clear process to clean every part of the interior carefully. Once you understand this process, you can achieve similar results at home with basic tools and some patience. This guide explains each step in a simple way so you can clean your car interior like a professional.
Understanding What Interior Car Detailing Means
Interior car detailing is more than regular cleaning. It means deep cleaning every part of the inside of the car, including seats, carpets, dashboard, windows, and small hidden areas. The goal is to remove dirt, stains, dust, and bad odors that normal cleaning cannot fully remove.
Unlike quick cleaning, detailing focuses on every corner. It also includes protecting surfaces so they stay clean for a longer time. This is why professional services often make cars look almost new again.
Step 1: Clear Out Everything Inside the Car
Before you start cleaning, remove everything from the car. Take out trash, personal items, bottles, papers, and anything lying on the seats or floor. This makes it easier to reach all areas without obstacles.
Also remove floor mats so you can clean them separately. An empty interior helps you see how much dirt has built up and allows you to clean more effectively.
Step 2: Vacuum the Entire Interior
Vacuuming is one of the most important steps in the whole process. It removes loose dirt, dust, crumbs, and small debris from every corner of the car.
Start with the seats, then move to the floor, under the seats, and the trunk if needed. Use the vacuum tool to reach tight spaces between seats and along edges. These areas often collect the most dirt but are easy to miss.
A good vacuuming session prepares the surface for deeper cleaning and makes the rest of the work easier.
Step 3: Clean the Floor Mats
Floor mats collect most of the dirt because they are constantly exposed to shoes and outside dust. That is why they need special attention.
If the mats are rubber, wash them with water and a cleaning solution, then scrub them with a brush. For fabric mats, vacuum them first, then use a fabric cleaner and gently scrub stains.
Make sure the mats are completely dry before placing them back in the car. Wet mats can create bad smells if left inside the vehicle.
Step 4: Clean the Seats Properly
Seats need different cleaning methods depending on their material.
For fabric seats, apply a fabric cleaner and gently scrub the surface with a soft brush. Then wipe it with a clean cloth. If there are deep stains, repeat the process carefully without soaking the fabric too much.
For leather seats, use a leather-safe cleaner. Wipe the surface gently and avoid harsh scrubbing. After cleaning, apply a leather conditioner to keep the seats soft and prevent cracking over time.
Step 5: Clean the Dashboard and Interior Surfaces
The dashboard, center console, and door panels collect dust very quickly. These areas also affect how clean the car looks overall.
Use a microfiber cloth with a mild interior cleaner. Do not spray the cleaner directly on the surface; instead, apply it to the cloth and then wipe. This prevents streaks and damage.
For small areas like buttons and corners, use a soft brush or a cloth wrapped around a thin tool to reach tight spaces.
Step 6: Clean Air Vents and Small Gaps
Air vents often collect dust that is hard to see at first but becomes noticeable when the air is turned on.
Use a small brush or compressed air to remove dust from the vents. You can also use a cloth to wipe inside the slats carefully. Cleaning these small areas makes the air inside the car feel fresher.
Step 7: Clean the Windows from Inside
Clean windows make a big difference in how bright and clear the interior feels.
Use a glass cleaner and a microfiber cloth to wipe the windows. Clean in smooth movements to avoid streaks. It helps to clean in one direction first and then finish with another direction for a clear finish.
Do not forget the edges and corners, as they often collect dirt.
Step 8: Remove Bad Smells
If your car has a bad smell, cleaning alone may not be enough. You need to find the source of the smell and clean it properly.
Food spills, wet carpets, and hidden dirt are common causes. Once everything is cleaned, you can use an odor remover designed for cars. These products help remove smells instead of just covering them.
Keeping the car dry and clean is the best way to prevent odors from coming back.
Step 9: Protect the Interior After Cleaning
After cleaning, it is important to protect the surfaces so they stay clean for longer.
You can use protectants for the dashboard and plastic parts to reduce dust buildup. Leather conditioner helps keep seats soft and prevents damage. Fabric protection sprays can also help reduce stains in the future.
This step keeps the interior looking clean for a longer time after detailing.
Step 10: Final Check of the Entire Interior
Once everything is done, go through the car again and check carefully. Look for missed spots, dust in corners, or streaks on windows.
This final check is important because even small details can affect the overall result. A proper inspection ensures the interior looks clean from every angle.
Common Mistakes to Avoid
Many people make small mistakes while cleaning their car interior. One common mistake is using too much cleaning product, which can leave sticky residue. Another mistake is skipping vacuuming and going straight to wet cleaning, which can spread dirt instead of removing it.
It is also important not to use harsh household cleaners, as they can damage car surfaces. Taking your time and following the correct order always gives better results.
Why Professional Detailers Do It Better
Professional detailers follow a clear step-by-step system and use the right tools for each job. They clean every area carefully and pay attention to small details that are often missed.
They also know how to handle different materials like leather, fabric, and plastic without causing damage. This is why their results often look deeper and more polished than regular cleaning.
Still, with patience and the right approach, you can achieve similar results at home.
Conclusion
Detailing a car interior is all about following a proper routine and paying attention to detail. When done correctly, it can completely change how your car looks and feels inside. A clean interior makes driving more comfortable and enjoyable.
By following these simple steps, you can clean your car like a professional and maintain it easily over time.