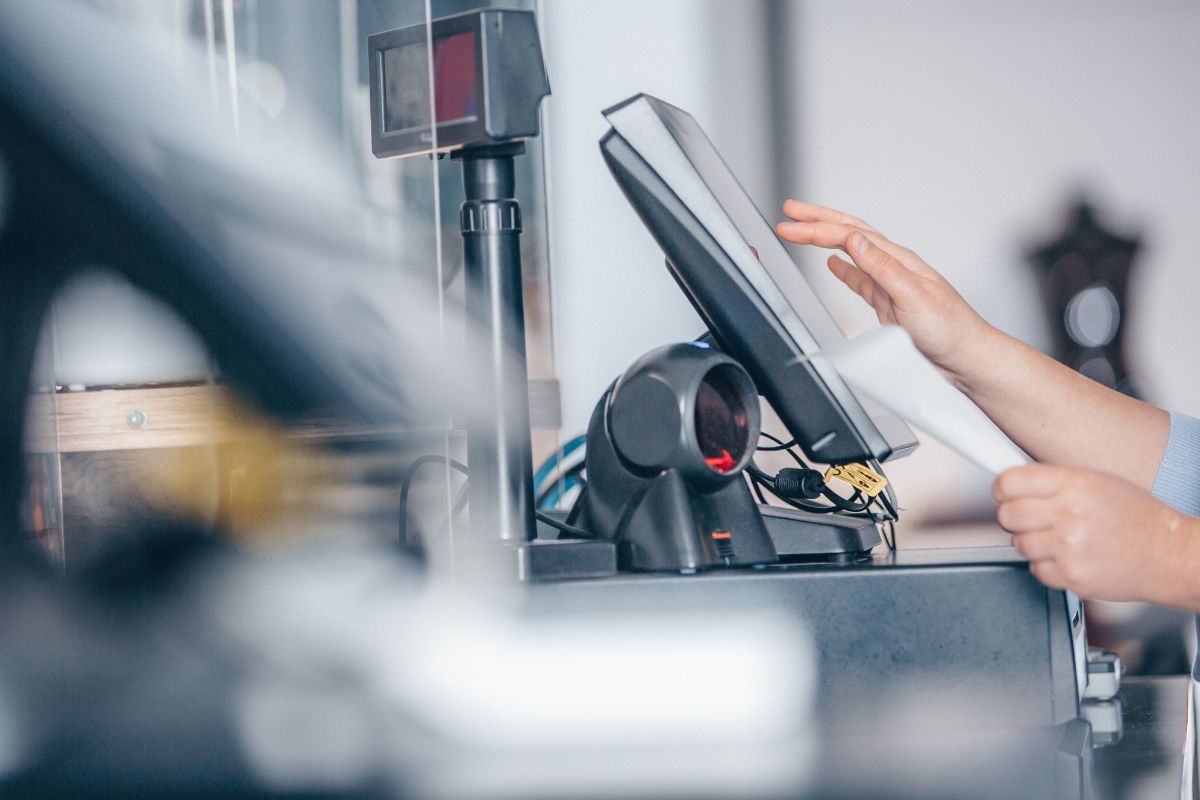
Running a busy restaurant requires efficiency and organization. One of the best ways to keep your kitchen running smoothly is by using a Clover kitchen printer. This printer connects to your Clover point-of-sale (POS) system and sends orders directly from the counter to the kitchen. It helps reduce mistakes, speeds up service, and keeps your staff focused on preparing food rather than managing orders manually. With a Clover kitchen printer, you can ensure that every order is printed clearly and accurately for your kitchen team.
If you are new to Clover or have never set up a kitchen printer before, it might seem a little confusing. But don’t worry—setting up a Clover kitchen printer is straightforward when you follow the steps carefully. In this guide, we’ll walk you through everything from unboxing and connecting the printer to testing and customizing it for your kitchen. By the end, you’ll have a fully functional printer that helps your restaurant run more efficiently.
Understanding the Clover Kitchen Printer
Before you start, it’s helpful to understand what a Clover kitchen printer does. Unlike regular office printers, kitchen printers are designed to handle the heat, humidity, and busy environment of a kitchen. They quickly print clear order tickets so your chefs and kitchen staff can see exactly what to prepare. The Clover printer can also handle multiple printers at once, making it easy to send different types of orders—like drinks, appetizers, and main dishes—to the right stations.
One of the biggest advantages of using a Clover kitchen printer is that it connects directly to your POS system. This means orders go from the counter to the kitchen automatically, reducing human error and speeding up service. You can also customize the order layouts and even set rules to send certain items to specific printers. For example, drinks could go to the bar printer while entrees print at the main kitchen station.
Unboxing and Setting Up Your Printer
The first step in setting up your Clover kitchen printer is to unpack it carefully. Inside the box, you should find the printer, a power cable, a USB or Ethernet cable, and any mounting hardware. Choose a safe and convenient location in your kitchen where the printer won’t be exposed to spills or heat. Many restaurants place the printer near the pass-through window or on a counter where staff can easily grab printed tickets.
Once you’ve found the right spot, plug in the power cable and turn on the printer. Make sure it powers up correctly before moving on to the next step. Having a stable and visible printer location is important because it allows your kitchen staff to quickly pick up tickets and keep orders moving.
Connecting the Printer to Your Network
After your printer is powered on, you need to connect it to your network. Some Clover kitchen printers use a wired Ethernet connection, while others can connect through Wi-Fi. If you are using Ethernet, simply plug one end of the cable into the printer and the other into your router or switch. The printer should be detected automatically by the Clover system once it’s on the same network.
For Wi-Fi connections, go into the printer’s settings menu and select your network. Enter the Wi-Fi password carefully to ensure a stable connection. A reliable network connection is very important because any interruptions can delay orders and slow down kitchen operations.
Pairing Your Printer with Clover POS
Next, you need to link your Clover kitchen printer to your POS system. Open your Clover Dashboard and go to the Devices or Printers section. Here, you can choose to add a new printer. Select your kitchen printer from the list. If the printer doesn’t appear, double-check that it is powered on and connected to the same network as your Clover device.
After your printer is detected, give it a name that matches its location, like “Grill Station” or “Bar.” This makes it easy for staff to know which printer receives which orders. Proper labeling also reduces confusion during busy hours.
Configuring Printer Settings
Once the printer is connected, you can adjust its settings for the best performance. In your Clover Dashboard, you can set options such as print speed, ticket layout, and paper size. Many restaurants prefer bold text and clear formatting for easy reading in a busy kitchen.
You can also set rules for which orders go to which printers. For instance, drinks can go to one printer and main courses to another. Customizing these settings helps your staff manage orders efficiently and reduces mistakes.
Testing Your Clover Kitchen Printer
Before going live, it’s important to test your Clover kitchen printer. Send a few test orders from your POS system to make sure the printer prints clearly and accurately. Check the text, alignment, and speed. If anything seems off, review the settings or consult the manual.
Regular testing is important, especially during peak hours. A reliable printer ensures that your kitchen staff can focus on cooking instead of dealing with misprinted orders.
Maintaining Your Printer
A Clover kitchen printer works best when it is well-maintained. Because kitchens can be messy, it’s important to clean the printer regularly. Use a soft cloth to wipe the exterior and remove any grease or dust. Avoid using harsh chemicals that could damage the printer.
Also, check the paper roll frequently and replace it before it runs out. Keeping the printer firmware updated is another way to ensure smooth operation. With regular care, your printer will last longer and perform reliably during busy shifts.
Training Your Staff
Even the best printer is only useful if your staff knows how to use it. Teach your team how to load paper, troubleshoot minor issues, and interpret printouts. You can also create a quick reference guide for new employees. Proper training helps prevent mistakes and keeps orders flowing smoothly.
Using Multiple Printers
If your restaurant has multiple stations, you can set up more than one Clover kitchen printer. This allows you to send orders to different parts of the kitchen automatically. For example, appetizers could go to one printer while main courses go to another. Using multiple printers saves time and makes it easier for your staff to work efficiently.
Conclusion
Setting up a Clover kitchen printer is an important step for any restaurant that wants to improve speed and accuracy. By following the steps in this guide—unboxing, connecting to the network, pairing with your Clover POS, adjusting settings, testing, and training your staff—you can ensure your kitchen runs smoothly. Regular maintenance and careful setup will keep the printer working reliably, making it a valuable tool for busy kitchens.
With a properly set up Clover kitchen printer, your restaurant can reduce errors, speed up service, and provide a better experience for both your staff and customers.